
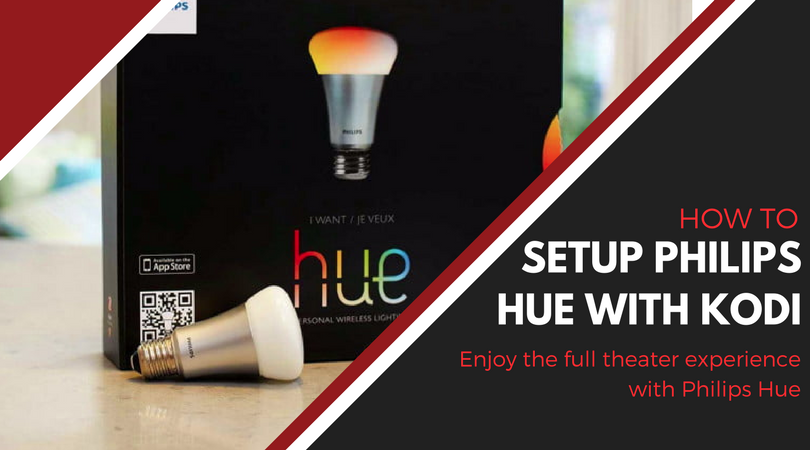
The past few months I’ve become heavily invested in learning about home automation and with it I’ve been trying to find ways where I can implement it into my Kodi setup. Along the way I got introduced to the cool Philips Hue smart lights and integrated it into my small condo and have been playing with them ever since. It wasn’t long after I found a way that you can actually implement these when you’re watching content through Kodi either with ambilight or theatre mode. While this isn’t a necessity in your Kodi system it definitely brings a WOW factor to it when people are watching.
We’ve recently gone through and updated this guide for 2018. The addon was updated and while it should work for Kodi 17+ it still doesn’t see to many regular updates. Continue to check back here for the latest on how to get up and running.
At the time of this writing, the addon that ties this altogether isn’t being actively developed so there is always a possibility of errors moving forward. It’s been clearly stated this is a side project from the developer but the good news is in most cases users haven’t had many problems getting it up and running. Lately he has pushed out some updates so moving forward that should be a positive step.
PLEASE NOTE: The source for the Hue script has been updated, I’ve updated it below but make sure to download the new source here (https://github.com/mpolednik/script.kodi.hue.ambilight/archive/master.zip)
It took me about an hour to figure this all out and was simple to install and setup. I’m not going to go into detailed steps on how to install the Philips Hue lights, I’m going to leave that in your hand. Again, it’s something that’s very easy to setup.
In this tutorial there’s two ways you can use your Philips Hue Lights with Kodi, the first is Ambilight. From my brief use of the Ambilight feature it seems like a real cool idea on integration but can be hit or miss at times with colors. Theater mode simply just dims out the lights when playback begins.
Let’s get started, here’s what you need first and foremost.
Contents
What You Need To Install Philips Hue on Kodi
If you haven’t looked into Philips Hue lights then you’re in for a real treat, the capability to turn your lights on and off from your phone, through your Amazon Echo or Google Home, or on a timer are fun. But when you start adding capability like adding it into your home entertainment center, that’s when you see some of the real fun.
Here’s what you need.
- Philips Hue Hub
- Philips Hue Bulbs (Get the Hub and Bulbs here)
- Download the Philips Hue Script Addon for Kodi (version 1.0).
- Kodi add-on script.module.requests, this file is required in order to use the Ambilight mode.
- Finally you’ll need a player with Kodi installed. This will work on any box, if you’re using an Amazon Fire TV you can follow this guide on how to install plugins on your Fire TV.
I’ll be using a MAC showing you how to install the actual plugin/script below.
How To Install The Philips Hue Plugin For Kodi
There really isn’t to much to this, if you’re familiar with installing Kodi plugins this will be easy for you. Here are some simple steps to get everything running. We’ll be using Kodi version 17+ for this, if you have questions about version 16 or lower please leave them below. With version 17 you need to make sure you have the ability to install third party addons, you can learn about that here.
- Open Kodi, scroll down to the Add-Ons Menu.

- From here we will select the box icon.

- Scroll down to Install from zip file.

- Browse to where you saved the zip file above and hit enter.

You should get a confirmation that the Kodi Philips Hue plugin has been installed in the upper right corner of the screen. Now it’s time to configure the plugin settings.
Make sure to follow the exact same steps as above but this time install the Kodi add-on script.module.requests.zip file instead. You need to install both only if you are planning on using the Ambilight feature of this plugin.
How To Configure the Kodi Philips Hue Addon
Now that we’ve got the plugin installed on our system the next step is to configure it. I had to search a little bit to find it as it resides in the services section for addons and not your traditional places like programs or videos.
To find it we need to follow almost the same steps as above.
- From the Add-Ons screen scroll do “My add-ons” and choose “Services”

- Choose “Kodi Philips Hue”

- Choose “Configure” from the bottom menu.

- First thing to do is connect your Hue Bridge to Kodi. To do that, click on “Discover Hue Bridge”.

- Give this a few moments…At some point you’ll get a notification in the top right asking you to press the button on your Hue Hub. Do so and give it a few seconds and it should connect to your hub. It may start asking for the Bridge button but just let it do it’s thing and you’ll soon have your Hub IP and User number filled in the General screen.
Once connected you should see an IP address of your hub(typically 192.168.x.xxx) and an Bridge User key that’s connected to the Hub. Now it’s up to you to decide how you want to use Philips Hue with Kodi. We’ll provide a brief run down below on each.
Theater Mode
Theater mode is probably the best feature and one that is the most reliable. The lights in this group act like the wall lights you’re probably familiar with inside a theater. When playback of the movie/show starts the lights dim. When the movie ends the lights undim. It’s fairly straight forward to the easiest to setup.
How To Setup Theater Mode With Philips Hue in Kodi
Ambilight Mode
If you’re unsure of what Ambilight mode is feel free to watch the start of the video above and you’ll see. Basically ambilight mode tries to match the current colors on screen of the video you are watching. From my experimentation it does work and decently well but there will be moments with some problems of colors not matching. In order to run ambilight mode we use these options.
Static Mode
General Settings
- Mode: There are only two options here so select Ambilight.
- Lights: Lights will be associated with all the Hue bulbs you’ve added to your setup. You’ll need to take note of the ID in the Philips Hue App that’s installed on your smartphone. It’s as easy as opening the app and browsing to the “Lights” menu option. If you’ve added in your lights already you should see a numbered list in here. The number is your Light ID. Ambilight won’t work well with a group of lights so it’s best to use a single light for this which is why I’ve purchased a strip of LED strip lighting and put behind the TV. Make your selection as “Single Light” and enter in the proper ID.
- Misc Settings:Enable Initial Flash and Disable for Short Movies, I’ve left these both off.
Advanced Settings
- The only settings I changed here for Ambilight involved deselecting the “override Hue colors” and pushing the “Color Bias” to 36.
You’ll have to restart Kodi for these changes to take effect.
Theatre Mode
General Settings
- Mode: This time we change the selection to “Theater”.
- Lights: Because this simply just fades out when you start a movie you can use as many Hue lights as you’d like. I’ve only got 4 lights in a small condo so I use them all so I set my lights to a “Group of Lights” with the ID as “0” to use them all.
- Misc Settings: Again I turn both of these off.
Advanced Settings
- The only real thing to change in here is the “DIM/UNDIM Transition Time”. I have mine set to 7 seconds. with everything else deselected.
Again you may have to restart Kodi to see the effects take place.
Wrapping Up
The Philips Hue Plugin for Kodi is a neat addition to your Kodi system. While it’s not actively maintained or developed it should still work for some of the things I’ve shown above.
Don’t forget you’ll need to purchase both the Philips Hue Lights and Hub for this to work.
If you have any questions on setup or problems please feel free to leave them in the comments section below.


)